
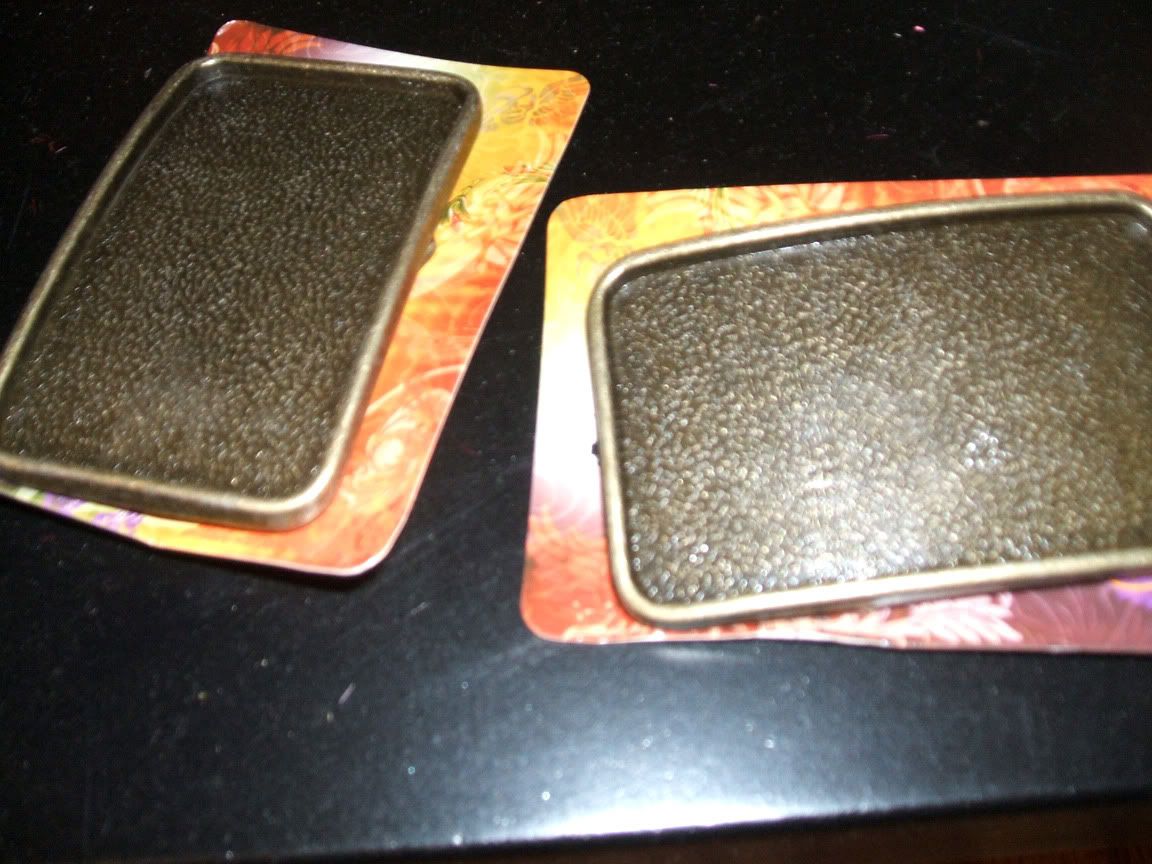
Pretty, right? I know. We were both lusting after it. Turns out, the damn thing is about $40 with shipping. You know what? Screw that. Time to brush off the creativity. I went ahead and got two blank belt buckles off of eBay for less than $5 each. The rest of the tools, I had laying around. These came just the other day:
So I busted out the spray paint:
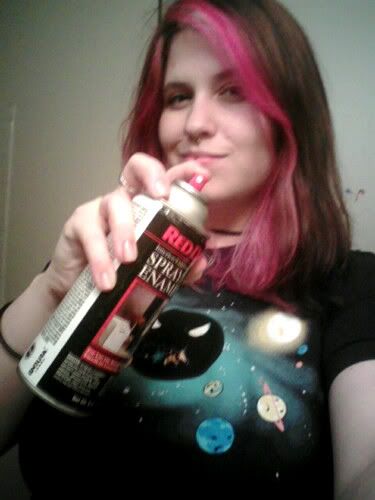
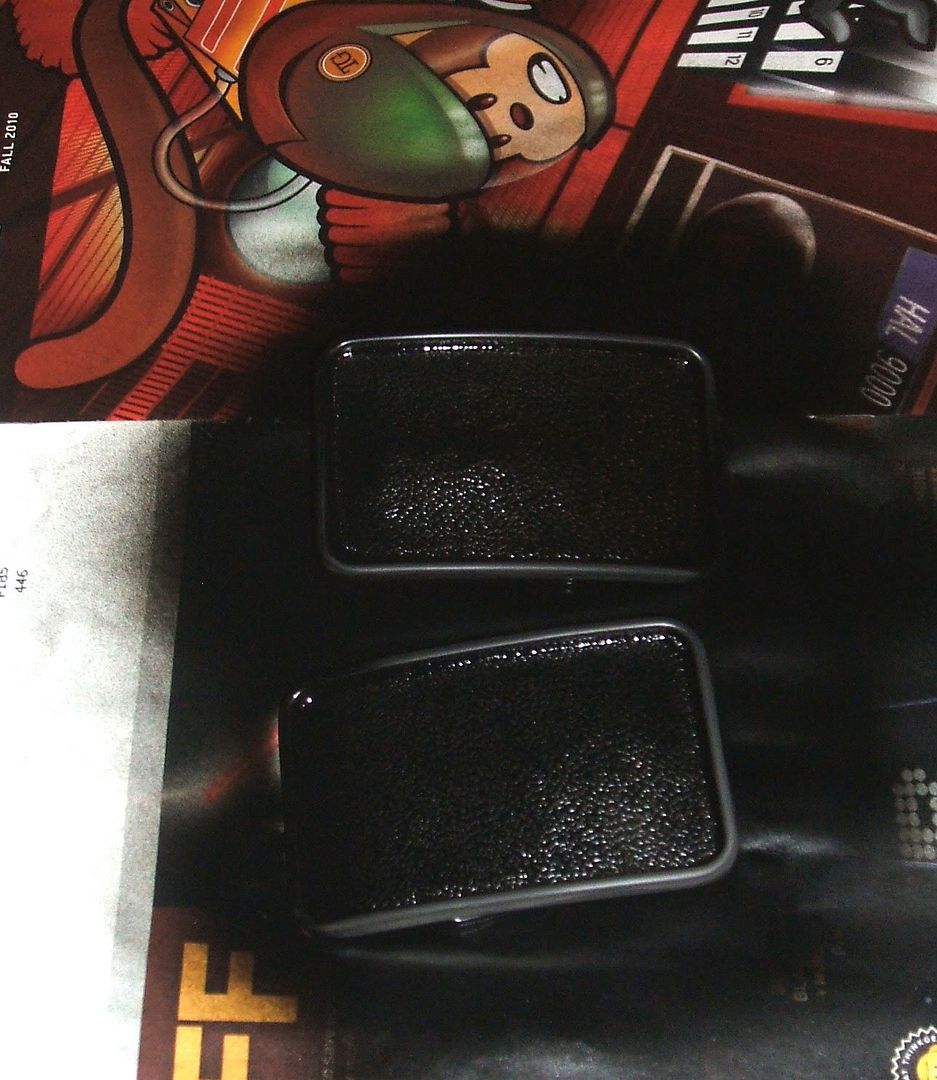
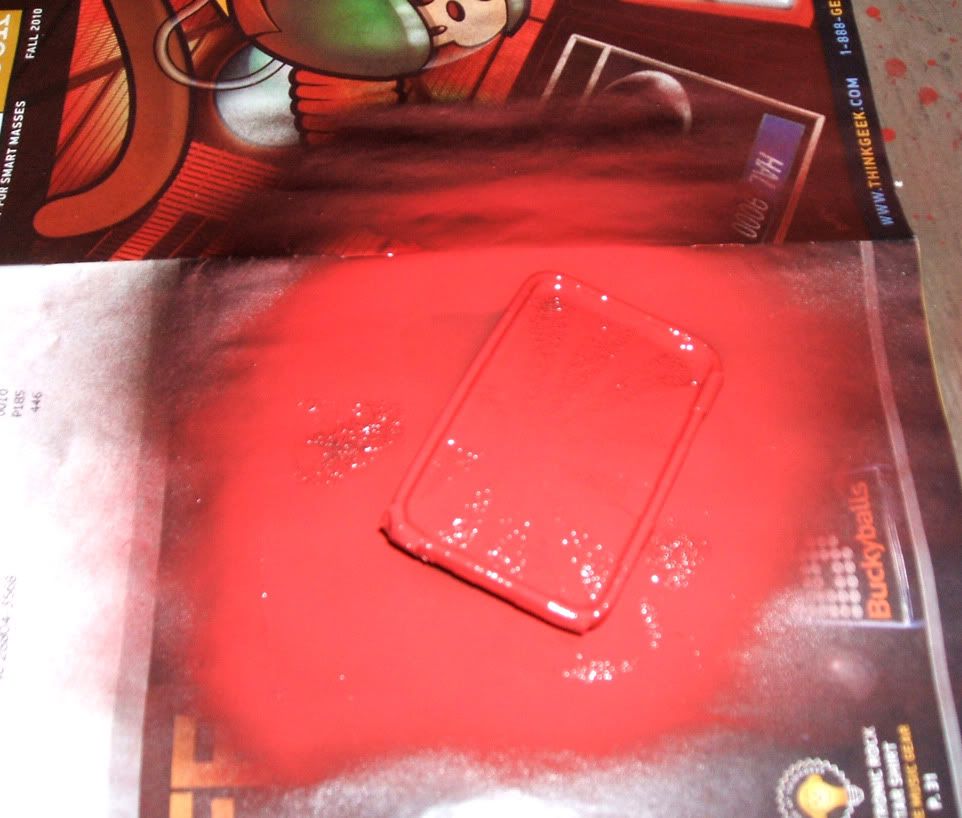
Laid the buckles out over an old magazine [totally a ThinkGeek magazine], and first sprayed them black.. this is spray paint that specifically bonds with metal:
Once those dried, I took out the painter's tape.. covered them completely, then cut out the shape of the red in the Rising Sun with an X-Acto knife to make a stencil. You can use a ruler and such and mark it out if you want, but I went ahead and did it free-hand. Like a boss. -
Laid those out again, and sprayed on two coats of red:
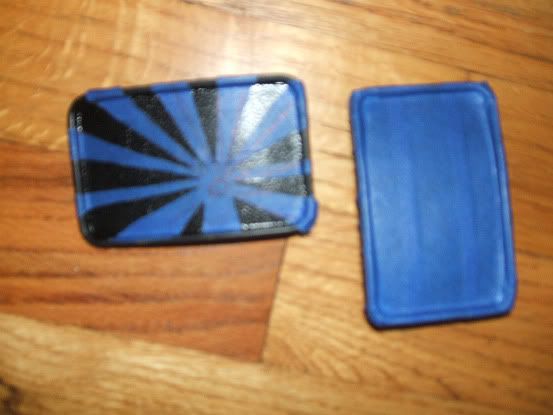
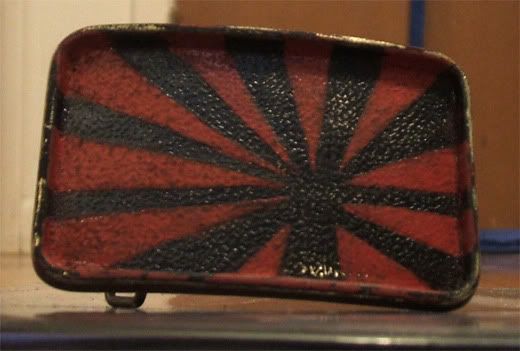
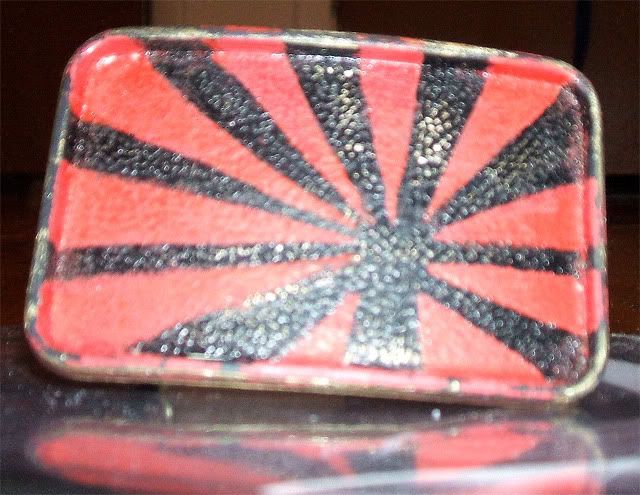
After that dried, I carefully peeled off the stencil, touched up any lines with red/black paint pens, then took a sheet of sandpaper to it. To get that weathered look similar to the original, I softly sanded down the edges of the buckle, and across the face of the buckle [very gently]. Then, to set the design, coated it with a spray-on gloss/sealant. What do you guys think:
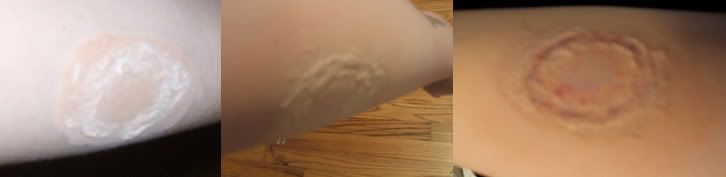
First, follow those same steps with the liquid latex and the stretched-out cotton, but form the cotton into an oval shape, and with a wide, flat-tipped object (I used a small screwdriver), poke the shape of tooth marks into the cotton while it's still wet. Then dust this with baby powder to set, and cover with foundation make-up to match the color to your own skin tone:
click to enlarge
You'll notice how that third image has color on it. Using a paintbrush and red and blue cream make-up (in very small amounts), I dabbed the blue first within the teeth marks, and in a circular pattern within the bite, and along the outside. Then went over the blue with red.. creating a bruising look. Honestly.. that's really all there is to it.
After this, I added a little bit of fake blood to make it look particularly gruesome:
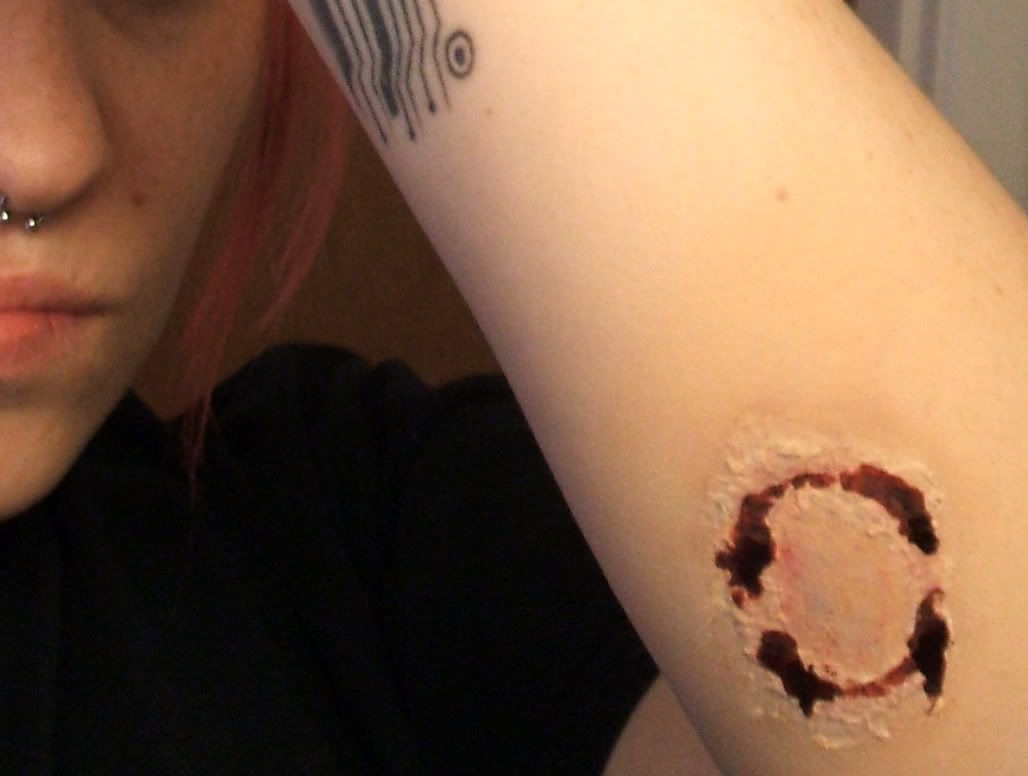
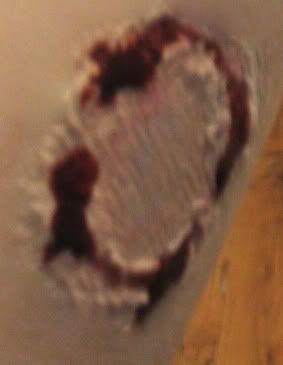
After this, I added a little bit of fake blood to make it look particularly gruesome:
That's all I've got for you guys today. Have any follow-up questions or requests for DIY Saturdays? Post them here! Enjoy your weekend.
♥ Jackie
Really digging these DIY saturdays post I always love DIY projects.
ReplyDeleteyaaaayyyy! Ima be a zombie girlscout!
ReplyDeleteoh, fuck yes. POST PICS!!
ReplyDelete